
Integrating different operating systems is necessary for seamless functioning in today's IT environments. Most IT environments have integrated platforms with other operating systems, particularly between the robustness of Linux and the widespread adoption of Windows. Although it may seem daunting, understanding these concepts is crucial for anyone looking to join systems administration.
This blog post will discuss connecting our previously created Red Hat Enterprise Linux (RHEL) server to our Windows AD. This integration is vital for several reasons: it simplifies user management, centralizes authentication processes, and enables single sign-on for users across various systems.
Table of Contents
Terminology
Active Directory (AD): Microsoft's directory service for Windows domain networks, handling user authentication and authorization.
Domain Controller (DC): A server that responds to authentication requests and verifies users on Windows domains.
Red Hat Enterprise Linux (RHEL): An enterprise-grade Linux distribution known for stability and security.
Virtual Machine (VM): A software-based emulation of a physical computer.
System Security Services Daemon (SSSD): A service for accessing remote directories and authentication mechanisms.
Kerberos: A secure method for authenticating a request for a service in a computer network.
Lightweight Directory Access Protocol (LDAP): A protocol for accessing and managing directory information.
Samba: A free software for providing file and print services compatible with Windows.
Group Policy Object (GPO): A set of rules for managing user and computer configurations within an Active Directory environment.
Fully Qualified Domain Name (FQDN): The complete domain name of an internet host.
Secure Shell (SSH): A protocol for secure network services between two networked devices.
Domain Name System (DNS): A system for translating domain names into IP addresses.
Pre-requisites: What You Need to Start
Building off of previous posts, this guide assumes that you are using Windows Server 2019 configured with Active Directory to manage network policies and user accounts. It also assumes that you have configured Remote Access Service (RAS) and DHCP Access Static IP management for functioning connectivity. Additionally, a RHEL server VM has been created and is currently operational.
Links are provided below for easy access to these guides:
Configuring RHEL VM Network Adapter
To ensure that a Red Hat Enterprise Linux (RHEL) server can communicate with a Windows Domain Controller (DC), it's important to configure the network settings properly. Since the RHEL server will be communicating over an internal network with the Windows DC, we need to modify the RHEL VM network settings for internal communication.
Step 1: Access the Network Settings
First, open the Oracle VM VirtualBox Manager. To modify your RHEL VM settings, right-click on the VM name and choose 'Settings...' from the list of options.

Step 2: Configure Network Adapter
In your RHEL VM's settings, navigate to the 'Network' tab. Here, you'll find 'Adapter 1'. Click on the dropdown menu next to 'Attached to:' and select 'Internal Network.' Hit 'OK' to save these changes.

Step 3: Test Internal Network Connectivity
After configuring the network adapter, start your RHEL and Windows servers. Within your RHEL server, open a terminal window by pressing the super key (aka Windows key). In the terminal, test the connectivity to your Windows DC by pinging its IP address.
Note that we previously set the Windows server IP to 172.16.0.1 (Step 6: Configuring Windows Server Network Settings)
$ ping 172.16.0.1
Receiving all packets with 0% packet loss indicates successful communication between your RHEL and Windows VMs. In case you face any issues, you should check that both VMs are running and connected to the same internal network. Additionally, make sure that the IP addresses have been configured correctly.
Connecting a RHEL Server to Windows Active Directory
In the following section of this blog post, we delve into the process of integrating Red Hat Enterprise Linux (RHEL) systems directly with Windows Active Directory, a key aspect for seamless network management and resource access. The steps and methods outlined are largely based on the comprehensive guidelines provided in the Red Hat Enterprise Linux 9 documentation. This was an invaluable resource when setting up my RHEL server to connect to my Windows Active Directory (AD). I wanted to acknowledge and extend my gratitude to the authors and maintainers of the RHEL 9 documentation for their help and for serving as a primary reference in this discussion.
This blog post incorporates material from 'Integrating RHEL systems directly with Windows Active Directory' by Red HatCustomer Content Services, which is licensed under the Creative Commons Attribution-ShareAlike 3.0 Unported License (available here). The original work has been modified. All adaptations are available under the same license.
Enabling AES encryption for Active Directory
For seamless and secure communication between Red Hat Enterprise Linux (RHEL) hosts and Active Directory (AD) domains, it's essential to use a mutually supported encryption type. For example, while AD has the capability to use RC4 encryption for authentication, this type is now considered vulnerable and is no longer enabled by default in RHEL systems, rendering it unsuitable for cross-system authentication. To bridge this gap, we will enable AES-256 encryption on our Domain Controller (DC) through group policy settings. AES-256 is not only supported by RHEL but also offers robust security, ensuring reliable and secure authentication between AD and RHEL systems. (Integrating RHEL Systems Directly With Windows Active Directory Red Hat Enterprise Linux 9 | Red Hat Customer Portal, n.d., sec. 1.3)
Step 1: Access Group Policy Management
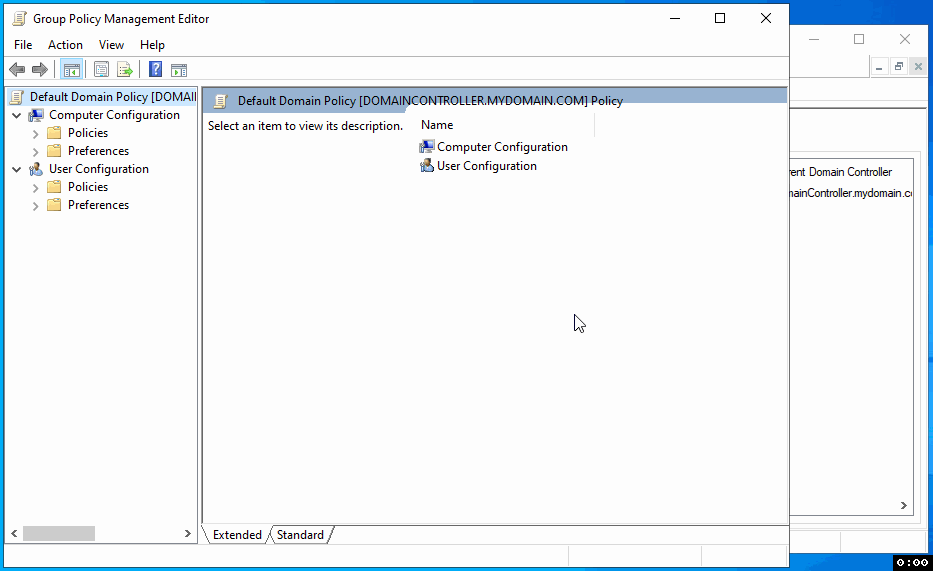
First, access the Group Policy Management on your Windows server. Search for 'Group Policy Management' and open the application. In the application, navigate through the following path: 'Forest' > 'Domains' > 'mydomain.com.' Here, locate the 'Default Domain Policy,' right-click, and select 'Edit' to open the Group Policy Management Editor.

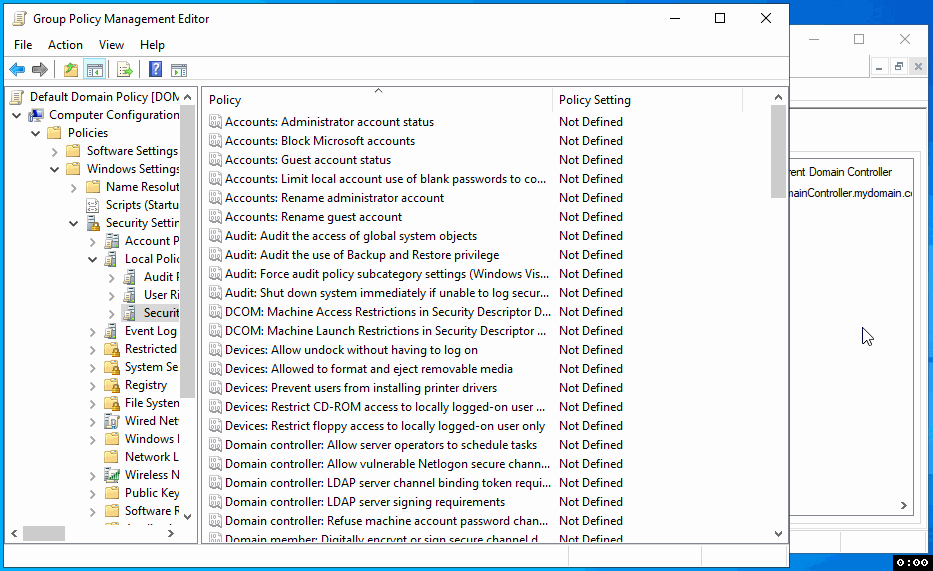
Step 2: Navigate to Security Options
In the Group Policy Management Editor, navigate through the following path: Computer Configuration > Policies > Windows Settings > Security Settings > Local Policies > Security Options. This path will take you to where you can configure various security settings.
Step 3: Set Up AES Encryption for Kerberos
Within the Security Options, find and open the 'Network security: Configure encryption types allowed for Kerberos' policy. Check the 'Define these policy settings' box, then also check 'AES256_HMAC_SHA1' to enable it. Click 'Apply' and then 'OK' to save these changes.
Step 4: Implement the GPO Update
To apply these changes, open a command prompt as an administrator and execute the following command to update the Group Policy Object (GPO) across the Domain Controller (DC):
gpupdate /forceThis command ensures that the new encryption settings are enforced immediately.

Opening Ports in Windows Firewall for RHEL/AD Integration
Integrating a Red Hat Enterprise Linux (RHEL) system with Active Directory (AD) requires using the System Security Services Daemon (SSSD). An essential step in this process is configuring the Windows Firewall on your Domain Controller (DC) to allow communication through specific ports needed for SSSD.
First, ensure that the RHEL host can access the following ports on the AD domain controllers. These are crucial for direct AD integration:
Acronym | Full Name | Port | Protocol | Description |
DNS | Domain Name System | 53 | UDP & TCP | Resolves domain names to IP addresses |
LDAP | Lightweight Directory Access Protocol | 389 | UDP & TCP | Accesses and maintains distributed directory information |
Samba | Samba | 445 | UDP & TCP | Provides file and print services for various Windows clients |
Kerberos | Kerberos | 88 | UDP & TCP | Authenticates users and services in a network |
Kerberos | Kerberos | 464 | UDP & TCP | Supports Kerberos change and sets password |
LDAP GC | LDAP Global Catalog | 3268 | TCP | Allows access to AD domain controller directory services |
NTP | Network Time Protocol | 123 | UDP | Synchronizes time across networked systems |
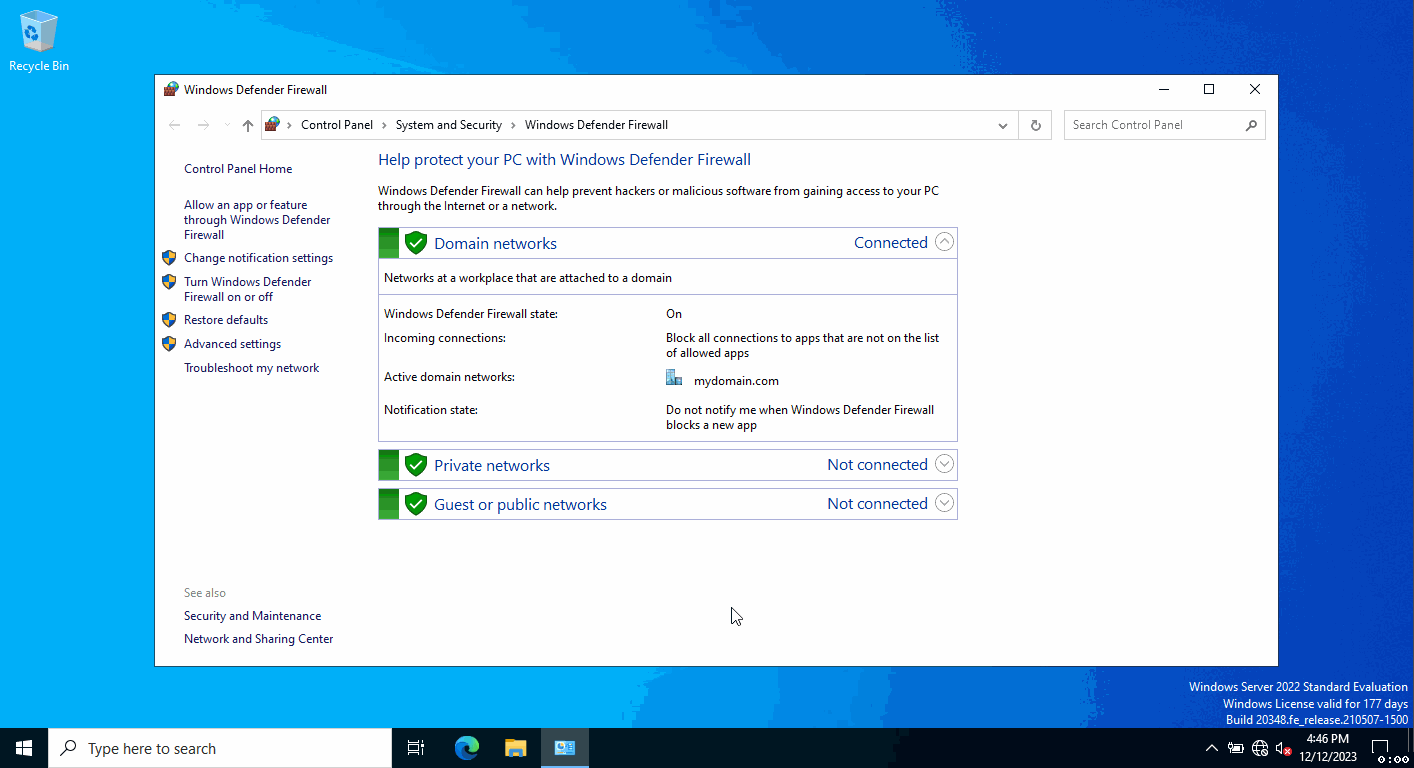
Step 1: Access Windows Firewall
Search for Windows Defender Firewall within the search bar and open the control panel item on the Windows server.

Step 2: Create Inbound Rules
Navigate to 'Advanced settings' and enter the 'Inbound Rules' section. Here, under 'Actions,' choose 'New Rule...' to launch the New Inbound Rule Wizard.
Step 3: Configure TCP Inbound Rules
On the 'Rule Type' page, select 'Port' and click 'Next'.
Choose 'TCP' and specify the local ports as 53, 389, 445, 88, 464, and 3268.
On the 'Action' page, opt for 'Allow the connection.'
Leave all options checked on the 'Profile' page.
Finally, name your rule for easy identification, like 'Required Ports for SSSD (TCP)', and click 'Finish'.


Step 4: Configure UDP Inbound Rules
Now we will have to create another rule for the UDP protocol. Again under 'Actions,' choose 'New Rule...' to launch another New Inbound Rule Wizard.
On the 'Rule Type' page, select 'Port' and click 'Next'.
Choose 'UDP' and specify the local ports as 53, 389, 445, 88, 464, and 123.
On the 'Action' page, opt for 'Allow the connection.'
Leave all options checked on the 'Profile' page.
Finally, name your rule for easy identification, like 'Required Ports for SSSD (UDP)', and click 'Finish'.


After creating these rules for both TCP and UDP protocols, you will need to restart your Windows server to ensure all changes are properly applied.
Discovering and joining an AD Domain using SSSD
Integrating your Red Hat Enterprise Linux (RHEL) server with an AD Domain streamlines user management and enhances security. System Security Services Daemon (SSSD) provides this integration, and the process begins with installing the necessary packages.
Step 1: Install Required Packages
To start, you need to install several key packages that enable your RHEL server to communicate with the AD Domain. These packages include tools for authentication, directory services, and home directory creation. Install the following packages:
samba-common-tools: Provides utilities for interoperability with Windows networks.
realmd: Discovers and joins AD domains and realms.
oddjob: Assists in performing specific tasks under privileged access.
oddjob-mkhomedir: Automatically creates home directories upon user login.
sssd: The core service that interacts with the AD Domain.
adcli: Facilitates joining the machine to the AD Domain.
krb5-workstation: Contains Kerberos tools for secure authentication.
Installing Packages:
You can install all these packages using a single command in the command line on your RHEL server. Open your terminal and run:
$ sudo dnf install samba-common-tools realmd oddjob oddjob-mkhomedir sssd adcli krb5-workstationThis command uses dnf, the package manager for RHEL, to download and install the packages from the official repositories.

Step 2: Setting your REHL Server Hostname
In an AD domain, each computer must have a unique and resolvable hostname. This identity enables the server to communicate effectively within the network and allows the AD domain controllers to authenticate and manage it. If the hostname is incorrect or conflicts with another machine, the domain join process will fail.
Set a Proper Hostname
Choose an appropriate hostname that aligns with your organization's standards. It should be unique to avoid conflicts. For my lab environment, I chose to set my hostname to 'RHELserver'. Set the hostname using the hostnamectl command:
$ sudo hostnamectl set-hostname RHELserverReplace 'RHELserver' with the hostname you've selected.
Verify the Current Hostname
Check the server's hostname change was successful by executing the hostname command:
$ hostnameThis command will display the current hostname.

Step 3: Discovering your Windows Domain Server
Next, we will need to discover our domain before joining it. To do this enter the following command within the terminal:
$ realm discover mydomain.comUpon execution, your domain should be found and the details listed

Step 4: Joining your RHEL server with your Windows Domain
To incorporate your RHEL server into the Windows domain, you will utilize the realm join command. This action requires administrator credentials from your Windows domain, as well as from your RHEL server.
$ realm join mydomain.com -U win.logan.toms-saReplace 'mydomain.com' with your domain and 'win.logan.toms-sa' with the SAMaccountname of your Windows server administrator account.
You will be prompted first for the password of the Windows administrator account, followed by the password of your RHEL administrator account.t


Step 5: Verifying the Domain Join
After joining the domain, it's crucial to confirm that the operation was successful. Here are two methods to verify the integration:
Check for AD User Information
To confirm the domain join, you can fetch details of an Active Directory user account using the getent passwd command; this will return the user's login information to validate that the account is recognized on the RHEL server.
Use the following command to check for the existence of the Windows server administrator account on your RHEL server:
$ getent passwd win.logan.toms-sa@mydomain.comReplace the 'win.logan.toms-sa' with the SAMaccountname of your AD user and 'mydomain.com' with your domain name.

If the command returns the user information, it indicates a successful domain join.
Inspect Active Directory for the RHEL Server Entry
Another verification step is to access Active Directory on your Windows server. Look for the RHEL server's entry under the Computers Organizational Unit (OU). If you find your RHEL server listed, the domain join process has been successful.

Conclusion
Looking ahead, we will continue to build upon our technical environment and learn new concepts and tools that will refine our proficiency in system administration. These efforts will also provide a solid foundation for ascending into more senior system administrator positions. Our ongoing learning will serve as a bridge toward immediate improvement and future career advancement.
References
Integrating RHEL systems directly with Windows Active Directory Red Hat Enterprise Linux 9 | Red Hat Customer Portal. (n.d.). Red Hat Customer Portal. https://access.redhat.com/documentation/en-us/red_hat_enterprise_linux/9/html-single/integrating_rhel_systems_directly_with_windows_active_directory/index#ensuring-support-for-common-encryption-types-in-ad-and-rhel_connecting-rhel-systems-directly-to-ad-using-sssd